Hey guys, Dan here from Dangerously Fit. In this week’s video, we’re kicking off an eight-part mini-series going through the essentials of Indian club training.
We’re starting today by covering some of the fundamentals, and over the next eight weeks, we’ll go through single club exercises, doubles, and some advanced movements as well.
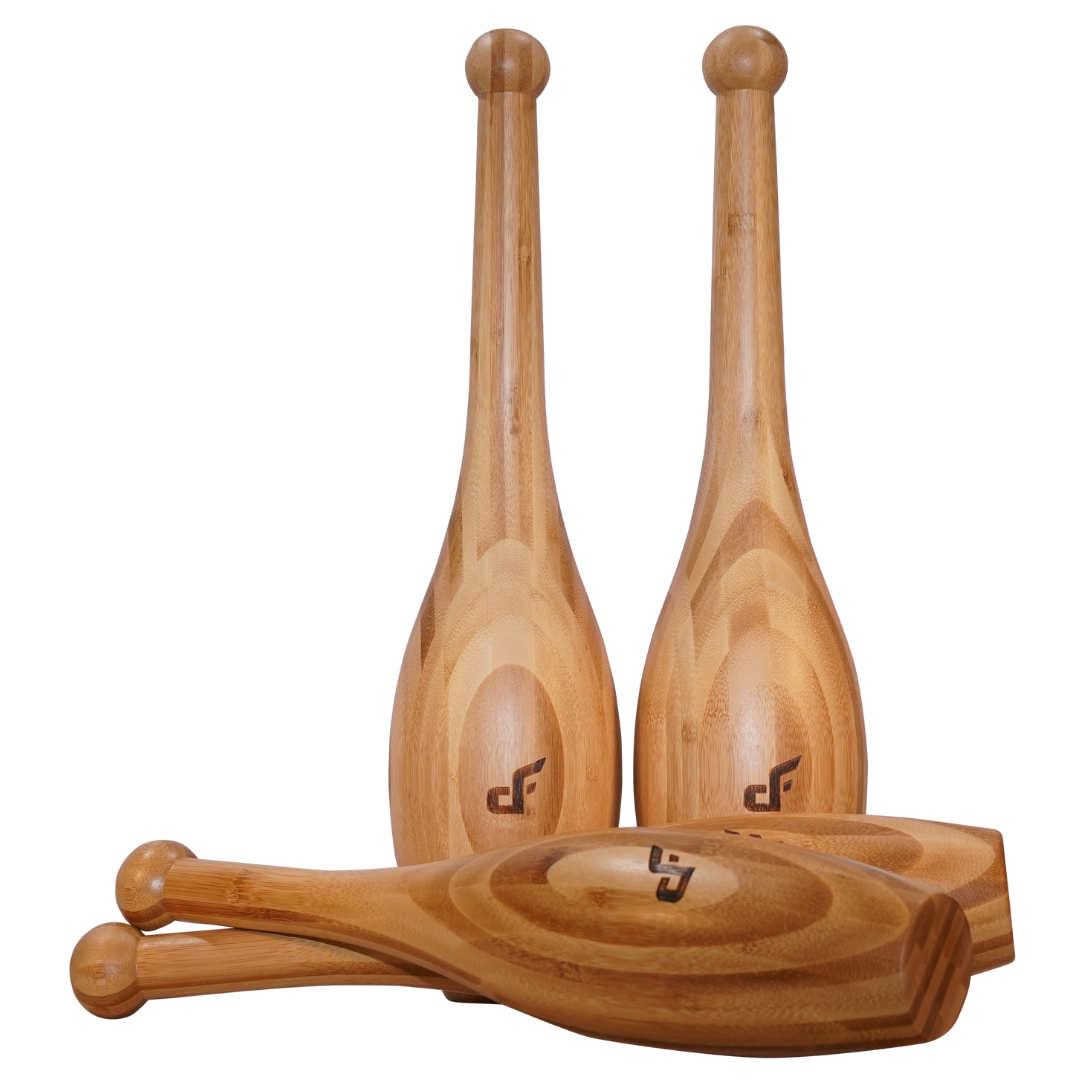
We’re going to begin with the basics, starting with the Indian club itself. Let’s look at the anatomy.
First off, we have the pommel, which is the sphere at the top of the handle.
Then, we have the handle itself, followed by the barrel, which is the thickest part of the club.
The underside of the club is usually referred to as the muzzle or the base.
There are many different styles of Indian clubs, all with their own pros and cons, and each with different uses.
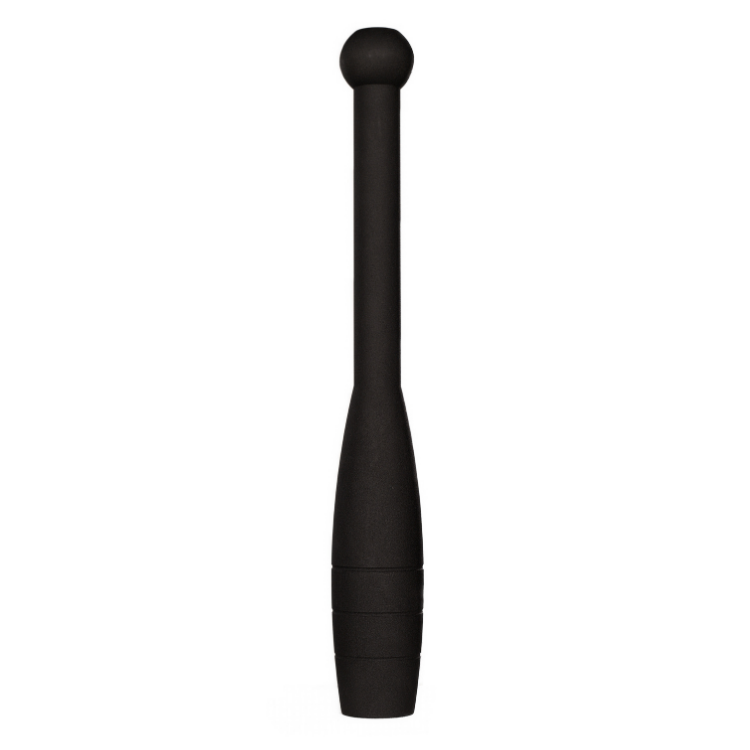
These are our Dangerously Fit Victorian-style Indian clubs. As you can see, the main weight distribution is in the center of the barrel, which makes them swing really smoothly. The further the weight is from your point of contact (your grip), the heavier it’s going to feel. This creates more torque and makes the swing a little more aggressive.
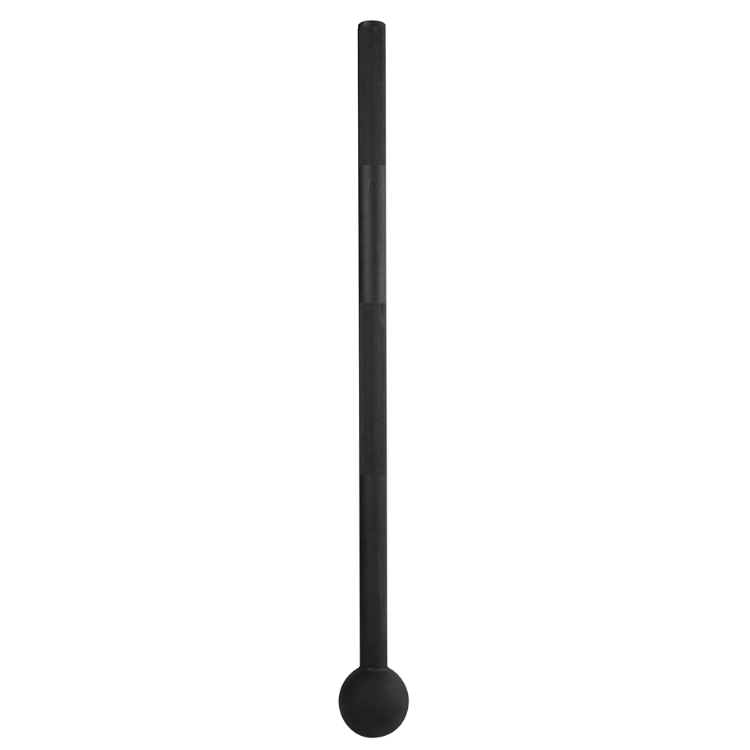
For example, if you look at our Maverick Lights, which are our adjustable Indian clubs, most of the load is at the top of the club, far away from the grip.
This means there will be more torque, making it feel heavier and more aggressive when swinging.
The same applies to teardrop clubs, where the main load is far from the pommel, distributing the weight further from the hand and making it feel heavier.
Now, let’s go through health and safety.
The Indian club is a lethal weapon, so make sure there are no kids or pets in the vicinity while you’re training.
Also, if you’re in a training space, ensure you have at least one meter of clearance in front, behind, and on each side of you.
Cracking someone in the head with one of these could be deadly, so make sure no one walks into your training space.
Next, let’s talk about recommended weights. If you’re just getting started with Indian clubs, I recommend beginning with a lighter pair—around 0.5 kg (1 lb) per club. Once you can perform the movements with proficient technique, you can move on to heavier clubs, like 1 kg (2 lbs). But if you’re a beginner, a 0.5 kg pair is perfect to start with.
Now, let’s go through some of the grips. There are two main grips used with Indian clubs.
The first one is the hammer grip, where you place three fingers on the handle and wrap your pinky around the pommel. It’s called the hammer grip because it resembles holding a hammer.
The second grip is the saber grip. When casting the club away from the body, you transition into this grip. You start with the hammer grip, and when casting the club, extend the wrist to shift into the saber grip.
Let’s talk about posture. With your feet, you can either take a military stance with your feet in a V-position, or if that’s uncomfortable and you can’t get your hips in proper alignment, you can keep your feet close together with your toes pointing forward.
Stand tall, keep your chest up and proud, and shoulders back. Don’t hunch over.
Keep a straight spine and ensure your hips and shoulders stay facing forward without twisting or rotating. Imagine two lines extending from your hips and shoulders, they should remain parallel throughout the movement.
That’s it for today’s video, covering some of the basics of Indian club training. Next week, we’ll go through single-arm movements, then move on to doubles and advanced exercises.
It’s important to get these basics drilled in first because they form the foundation for the rest of your Indian club training.
If you want to get your hands on a pair of Dangerously Fit Indian clubs, I’ll leave the links in the description below.
Thanks again for watching, and I’ll see you in the next one!